Thanks! I am looking forward to seeing that picture!wolf wrote:Ok, I'll try and get a third picture of the head one of these days...
Satoshi Kamiya - Chocobo (CP)
Forum rules
READ: The Origami Forum Rules & Regulations
READ: The Origami Forum Rules & Regulations

-
Daydreamer

- Moderator
- Posts: 1423
- Joined: October 28th, 2005, 2:53 pm
- Location: Vienna, Austria
- Contact:
-
Daydreamer
- Moderator
- Posts: 1423
- Joined: October 28th, 2005, 2:53 pm
- Location: Vienna, Austria
- Contact:
A video for step 36 since I don't know how to explain it otherwise.
<embed src="http://www.youtube.com/v/Y7hGH43sJoo" type="application/x-shockwave-flash" width="400" height="300"></embed>
And some pictures for step 45:

Open up the layers.

Make the sink as shown on existing creases.

Sink complete, close up the layers.

Step 45 done.
<embed src="http://www.youtube.com/v/Y7hGH43sJoo" type="application/x-shockwave-flash" width="400" height="300"></embed>
And some pictures for step 45:
Open up the layers.
Make the sink as shown on existing creases.
Sink complete, close up the layers.
Step 45 done.
So long and keep folding ^_^
Gerwin
Gerwin
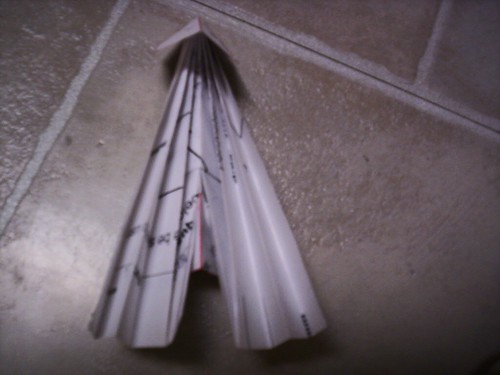
Mine looks pretty much exactly like this, but I'm not sure what to do from here... I know that those two sections coming down the sides in the top picture are what eventually become the legs, but I can't tell from the pictures I've been looking at how to do that.origami93 wrote:this is the second cp i have ever attempted, and i'm not sure if i collapsed it correctly. can somebody tell me if this is correct? if it isn't, can someone post a picture of what it is supposed to look like?
front view:
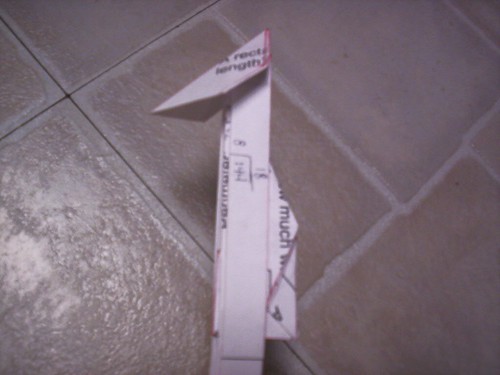
side view:
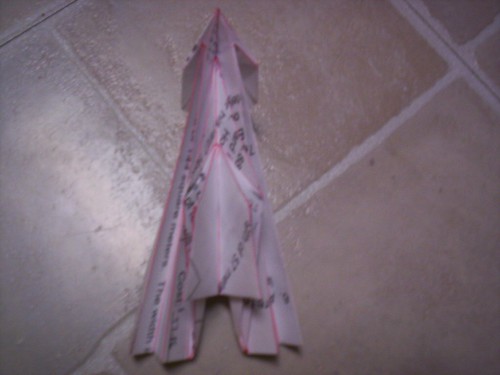
back view:
im also stuck herepitboss wrote:Mine looks pretty much exactly like this, but I'm not sure what to do from here... I know that those two sections coming down the sides in the top picture are what eventually become the legs, but I can't tell from the pictures I've been looking at how to do that.origami93 wrote:this is the second cp i have ever attempted, and i'm not sure if i collapsed it correctly. can somebody tell me if this is correct? if it isn't, can someone post a picture of what it is supposed to look like?
front view:
side view:
back view:

Here's some help :
Look at Origami93's back view picture. Take the front flap and fold it in half. If done correctly, it should look like the one in Dayreamer's video. Now, follow the video : those are the wings. Next, thin the legs following, again, Daydreamer's pictures as they are accurate. Afterwards, turn the model over and crimp the legs so they form a right angle with the symetrical ax. Finally, fold the head from top to bottom and fold the model in half. You should be able to finish it without any help after this step if you did it correctly.
Look at Origami93's back view picture. Take the front flap and fold it in half. If done correctly, it should look like the one in Dayreamer's video. Now, follow the video : those are the wings. Next, thin the legs following, again, Daydreamer's pictures as they are accurate. Afterwards, turn the model over and crimp the legs so they form a right angle with the symetrical ax. Finally, fold the head from top to bottom and fold the model in half. You should be able to finish it without any help after this step if you did it correctly.
holy crap that helped alot! thanks!Sunburst wrote:Here's some help :
Look at Origami93's back view picture. Take the front flap and fold it in half. If done correctly, it should look like the one in Dayreamer's video. Now, follow the video : those are the wings. Next, thin the legs following, again, Daydreamer's pictures as they are accurate. Afterwards, turn the model over and crimp the legs so they form a right angle with the symetrical ax. Finally, fold the head from top to bottom and fold the model in half. You should be able to finish it without any help after this step if you did it correctly.