Satoshi Kamiya - Ancient Dragon
Forum rules
READ: The Origami Forum Rules & Regulations
READ: The Origami Forum Rules & Regulations

-
klnothincomin

- Senior Member
- Posts: 256
- Joined: February 12th, 2008, 2:06 am
- Location: Alpharetta, GA
- Contact:
-
perrosaurio

- Super Member
- Posts: 177
- Joined: February 11th, 2007, 11:28 pm
- Location: Chile
- Contact:
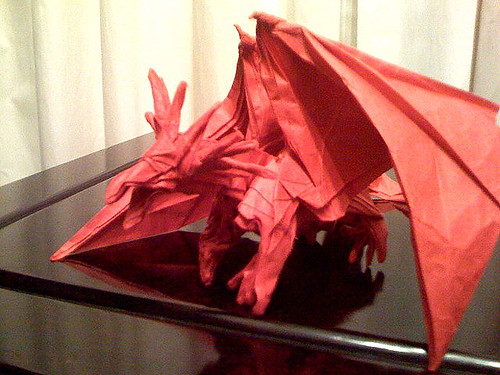
Hi, I'm on my personal challenge to bring life to a 14x14 cm Ancient Dragon, meanwhile, here are some pictures of step 66 I´ve posted on spanish Forum a whle ago. Hope they helps...eevee103 wrote:Hmm..still cant figure out step 66
The idea is to lift a layer diagonally, to do this you use the diagonal fold to the right, lower the right up corner, down to the central line, altogether with the right edge from the first layer, which sinks diagonally, it forms a comet base in the right side.


now, to the left, the achordeon opens and you notes diagonals coming from the top of the diagonal up left running down left , they are three, first one borns on that top point; you must fold the second one, parallel to it, upper, in mountain fold (I point it with a little hand), a zig zag is formed:

the valley fold is on the third diagonal, but starts a little lower, so the strip below is a little longer


well, that's all for the moment. Good luck.
folded from a 70x70cm sheet of kite paper
[img]http://i235.photobucket.com/albums/ee23 ... 020318.jpg[/img]
[img]http://i235.photobucket.com/albums/ee23 ... 020316.jpg[/img]
[img]http://i235.photobucket.com/albums/ee23 ... 020314.jpg[/img]
[img]http://i235.photobucket.com/albums/ee23 ... 020318.jpg[/img]
[img]http://i235.photobucket.com/albums/ee23 ... 020316.jpg[/img]
[img]http://i235.photobucket.com/albums/ee23 ... 020314.jpg[/img]
-
klnothincomin
- Senior Member
- Posts: 256
- Joined: February 12th, 2008, 2:06 am
- Location: Alpharetta, GA
- Contact:
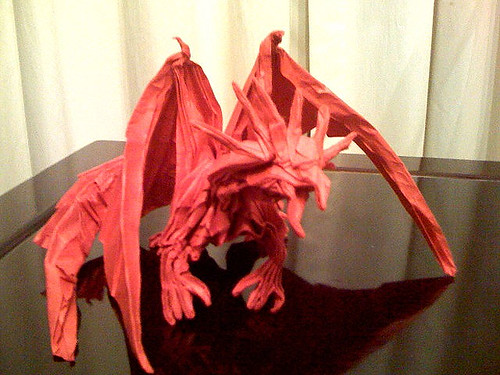
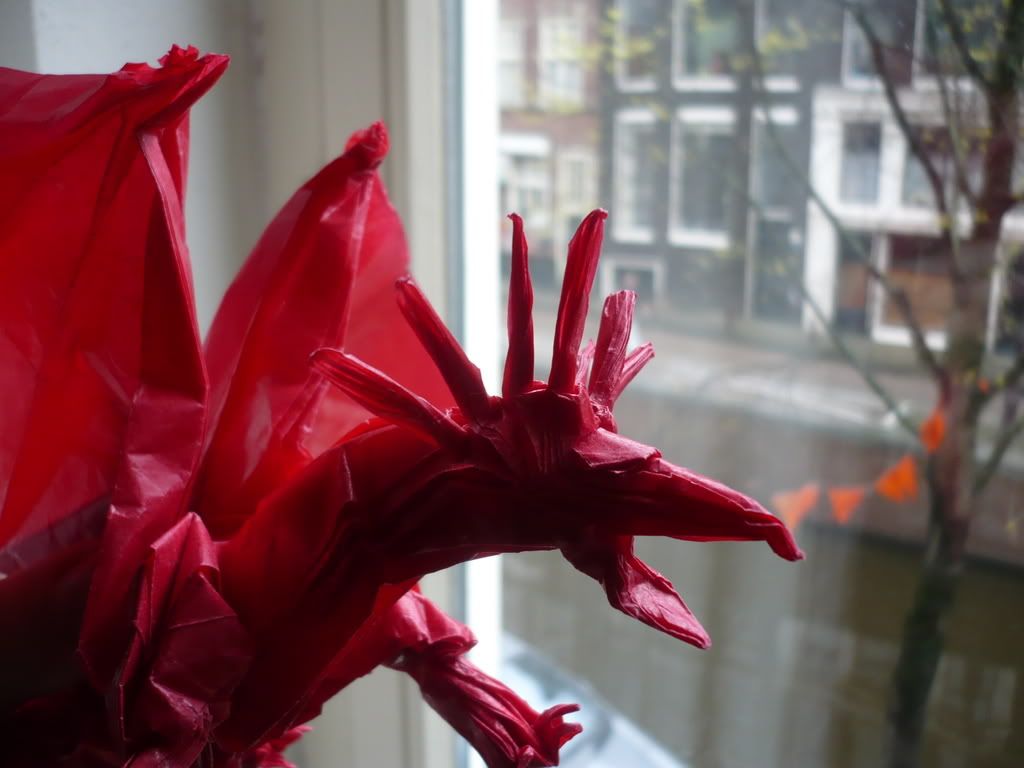
I hate the fact the legs spread apart... I love the way the head turned out though... here's a detail:
[img]http://i235.photobucket.com/albums/ee23 ... 020319.jpg[/img]
[img]http://i235.photobucket.com/albums/ee23 ... 020319.jpg[/img]
-
klnothincomin
- Senior Member
- Posts: 256
- Joined: February 12th, 2008, 2:06 am
- Location: Alpharetta, GA
- Contact:


-
minhphuong
- Newbie
- Posts: 4
- Joined: March 17th, 2008, 8:05 pm
-
JeossMayhem

- Forum Sensei
- Posts: 644
- Joined: October 1st, 2006, 8:02 am
- Location: Bellingham, Washington, USA
- Contact:
Steps 198 and 199 show the same move. Look at step 199 to make sure exactly where your folds should be. It's a standard reverse fold.
In 200, you're unfolding the outer-most layer, undoing the squashes at the tips you made in the steps up to 58 and flattenin them. You then turn these squashes into pleats in step 201-203.
Sorry, no pics this time, gonna be pretty busy today so give this a try for now. Good luck.
In 200, you're unfolding the outer-most layer, undoing the squashes at the tips you made in the steps up to 58 and flattenin them. You then turn these squashes into pleats in step 201-203.
Sorry, no pics this time, gonna be pretty busy today so give this a try for now. Good luck.
Check out my blog!
http://www.jeoss.wordpress.com
http://www.jeoss.wordpress.com
-
minhphuong
- Newbie
- Posts: 4
- Joined: March 17th, 2008, 8:05 pm
-
origami_kid

- Newbie
- Posts: 26
- Joined: April 14th, 2008, 9:32 am
- Location: New Zealand
- Contact:
Ok in step 85-86 it says in the diagram "the middle layers will be sunk twice".
I have some problems here(and in step 76 it's the same thing).
After the first open sink do I do the next open sink and finalize it with a closed sink on the middle layers?
And do the 2 starting points in the middle layers become only 1 point due to the closed sink?
Can someone confirm what I said or is it wrong?
[img]http://www.imagehosting.com/out.php/i1702773_dragon005.JPG[/img]
-
origami_kid
- Newbie
- Posts: 26
- Joined: April 14th, 2008, 9:32 am
- Location: New Zealand
- Contact:
-
Jonnycakes

- Buddha
- Posts: 1414
- Joined: June 14th, 2007, 8:25 pm
- Location: Ohio, USA
- Contact:
-
origami_kid
- Newbie
- Posts: 26
- Joined: April 14th, 2008, 9:32 am
- Location: New Zealand
- Contact:
Yes I have but don't laugh..It's my first time finishing the dragon and the second time I attemp to do it(the first I gave up at step 76 or so because the paper wasn't good)  .
.
I've fold it from 50 cm mulberry paper(non treated) and at the end the paper became a little fuzzy and too soft(maybe because I over worked the paper...eh,it's my first time,what can u do )
Here it is. Just click on the thumbnail if you want to see it larger:


Now I have a question for you guys...I tried to find some methyl cellulose but I couldn't find any...I asked the sellers at art stores and suply stores from where I buy my paper but no one heard of it...maybe it's called some other way? Joseph Wu calls it "wallpaper paste" of some sort.
I'm sure I can find some but I don't know where to look and how to ask ..