Okie Dokely let's do this.
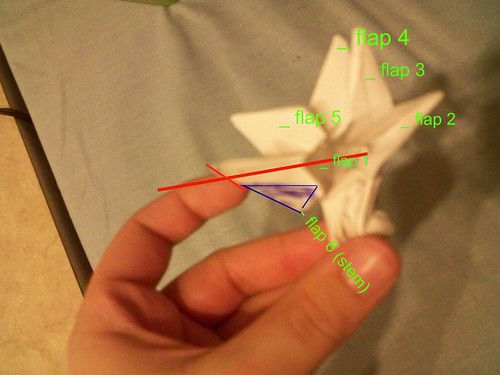
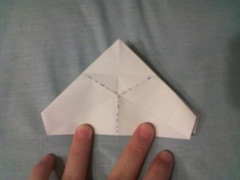
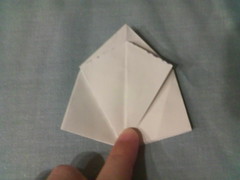
Step 10. Pinch the three lines into mountain folds.
10a. As you pinch the middle fold push upward and the triangle at the top will naturally form a valley fold along its base and fold up.
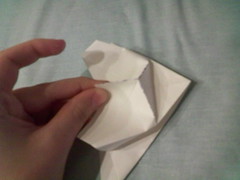

10b. Press lightly on the sides after the triangle is folded up and the niddle part you were pinching should now be its own flap so fold that over to the right. Repeat on the back
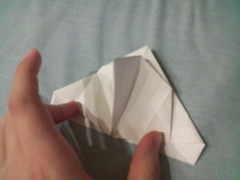
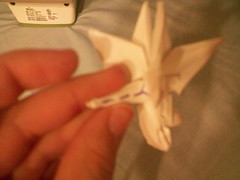
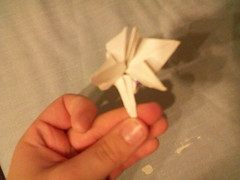
Step 10 completed
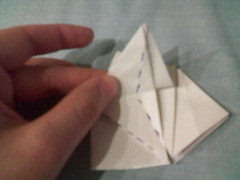
Fold the left flap over to the right.

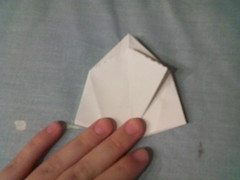
Make a valley fold on the bottom corner of the flap that you just folded over so that is matches the flap that lies beneath it.

The two flaps
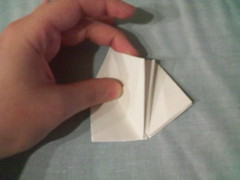
Fold the flap back to the left and change the valley crease you made into two mountain creases, one for each side of the flap, and sink that area into the model.
Now if you lift up the middle flap you can see the area that you sunk into the model and there a little bit hanging over the middle. Fold that over so you can see the middle of the middle flap clealy. This will make folding easier ad that little bit will block you from moving the flaps around.
Completed. Now repeat this sink process on the remaining three flaps.