I recently started doing origami again after I was gifted a book of patterns by Satoshi Kamiya.
I've done basic origami in the past, but have never attempted something more advanced. But I took my time, familiarized myself with the folds I would need to use etc, before I began on any of these. I first folded "The Yellow Bird" - successful on my first try! (if a little bit messy, of course... hehe)
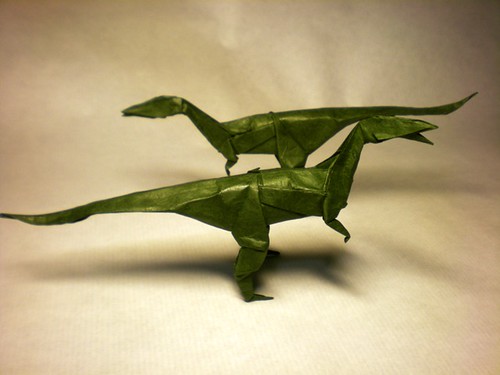
Now I'm attempting Coelophysis. Two parts stumped me so far, but I overcame them eventually. This next part... I just have no clue at all. This is the first time my folds have looked different from what I see on the diagram, so I cannot continue until I figure it out. =(
I'm hoping some of you kind folk may be able to help.
Specifically, I am on Steps 56 -> 60. This entire sequence boggles me. Step 56, when I fold down the corner, I am not presented with the straight, neat looking triangle on the top layer (seen in Step 57). Try as I might, I cannot get it to form a straight edge on that North-to-East diagonal from the center of the model to the far point shown in the picture. This is probably because I cannot figure out exactly where it is telling me to form the rabbit ear. I've tried, and worn my paper thin trying, but no matter what I do the shape is different to the diagram.
(Edit: Just to clarify, my paper up to this point matches the diagrams and as far as I can tell, is folded correctly at every step.)
From there, I encounter all sorts of problems in the next few steps... but I'll spare those details for now, unless necessary. Regardless, this has really stopped me in my tracks.
TL,DR: I'd be eternally grateful if someone could clarify the rabbit ear instructed in Step 56, leading to a correct shape in Step 57 and beyond. I would have taken pics of my paper, but my camera is out of batteries at the moment. I'll try to upload pictures soon.
Thanks for any and all help.