Page 1 of 2
Diagrams - Fishgoth's Dragon
Posted: March 16th, 2010, 9:18 pm
by Fishgoth
I am experimenting with photo-diagrams and would appreciate feedback and corrections!
I have probably folded this model more times than any other origami model. I folded it as a present for my wife on our very first date! Like many origami dragons, it derives from a stretched bird base. I have incorporated a pleat into it, and added a half-frog base to form the facial features. This model is high-intermediate, and can be folded from almost any paper. I have used a 40cm sheet of craft paper for the model below.
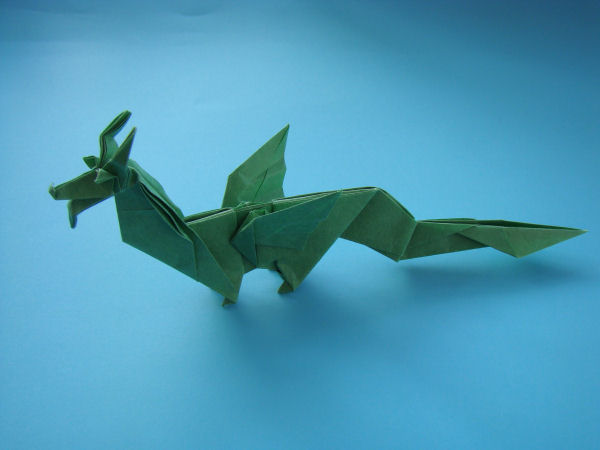
Link to diagrams - a work in progress!
http://fishgoth.com/origami/dragon1.html
Posted: March 16th, 2010, 10:48 pm
by madarko
like it, nice one
thanks for sharing
Posted: March 16th, 2010, 11:04 pm
by Fishgoth
Heh, nice one!
Posted: March 23rd, 2010, 1:18 am
by Fishgoth
Anyone else given this model a go?
Dragon
Posted: March 23rd, 2010, 1:58 am
by andssl
I will try!!
Posted: March 23rd, 2010, 2:03 pm
by Murkel
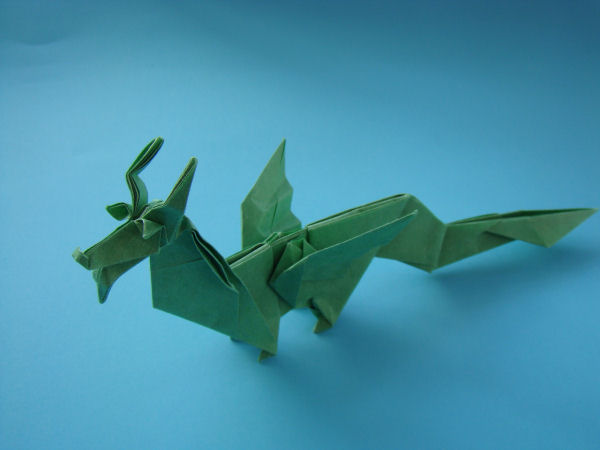
This is my try;)
Very clear instuctions in your diagrams!
lg

Posted: March 24th, 2010, 4:46 pm
by bluestormdragon
The dragon does look very nice, I will try it.
I won't be able to show it but, I'll let you know what I think of the picture diagrams.
Though I have to say that I am already sold, it seems like it's going to be easy to follow.
Posted: March 25th, 2010, 12:47 am
by Fishgoth
Nice folding. Anyone else fancy a go?
Posted: March 25th, 2010, 2:03 am
by holycoww74
hey hey nice dragon! it's one of my new favs. thanks
Posted: March 26th, 2010, 7:42 pm
by Aeiths
Nice diagrams! I'm starting it now, will post the results.
edit: Finished, model looks pretty good. It took just under 45 minutes to fold. probably post pictures tomorrow when I've got more free time.
Posted: April 21st, 2010, 11:52 pm
by xaoslord
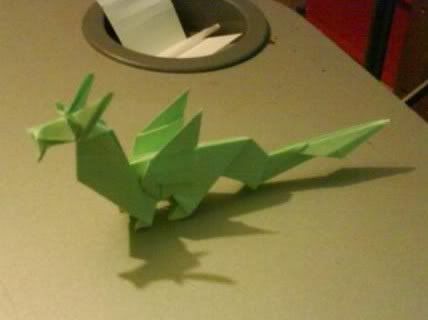
Great dragon, I gave it a go. (Sorry about the background.)

Posted: May 2nd, 2010, 11:19 am
by joshuaorigami
fantastic photo diagrams fishgoth, i will fold it sometime when my green tant paper arrives!
Posted: May 11th, 2010, 12:20 am
by DeeBee
I was able to follow the photo diagram easily. I used two color paper and I think it would be easier to follow pictures of two color. However, the result is not as nice. As you say, the eyes and tail are white, and that is actually an enhancement, but the back spline shows the white a little. Love the locking step!
Posted: May 12th, 2010, 8:27 pm
by joshuaorigami
Posted: May 16th, 2010, 2:23 am
by jadylyon
[img]
http://www.impulsion.me/origami/origami ... _small.jpg[/img]
for suggestions on the diagrams themselves:
STEP 24: the instructions says "repeat from step 5", but step 5 says "turn over". that's fairly misleading. I would prefer to see the next step or two shown in the sequences, which is to spin the model, make the next fold, and fold again to center. after that, it's easy to repeat the pattern.
STEP 39/40: you don't instruct to turn the model over, but it's supposed to.
STEP 40: it says to create the two pre-creases, but they already exist from a previous step. i wasn't sure what you were trying to indicate, except to score them again?
STEP 43/44: it's not clear that by "do the same at the other end", i believe you mean that it's necessary to pre-crease the same two lines at the tail end, to form a pair of "linked diamonds". the picture with this instruction shows the fold-through-all-layers on the head end only. you cannot see the second diamond on step 44, but you can clearly see it on step 45.
fun fold!